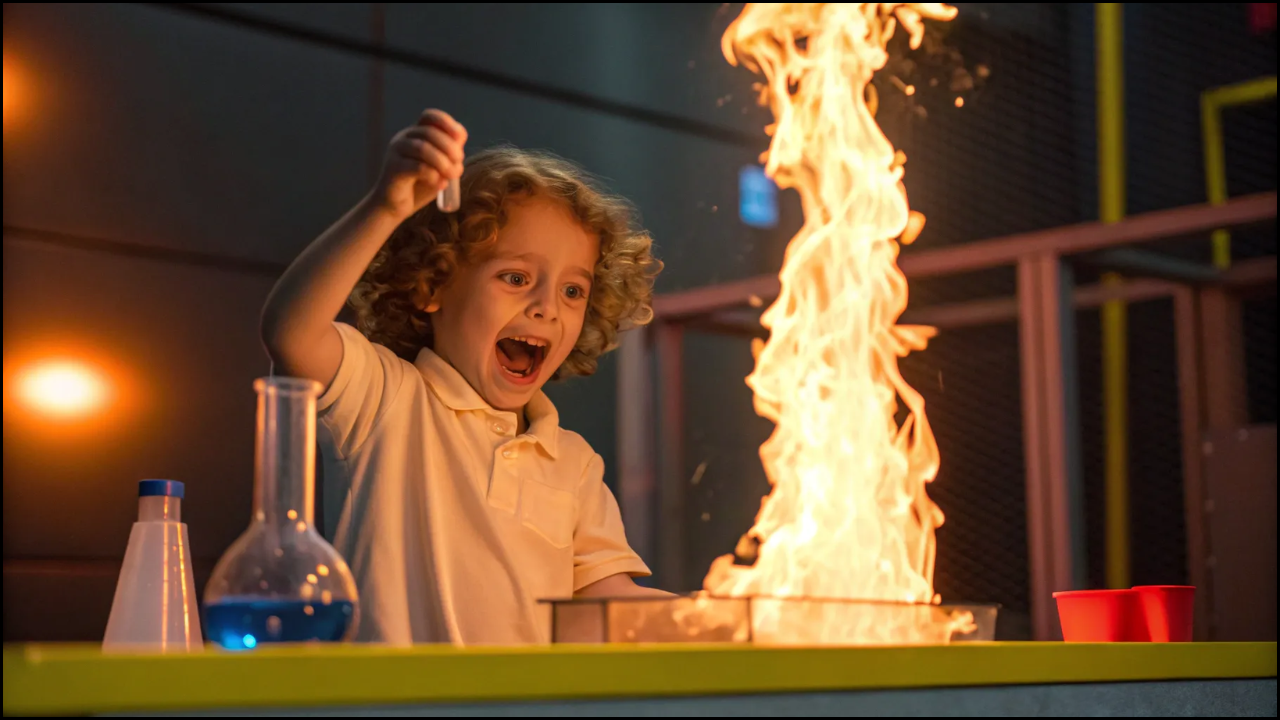
Explaining why sparks rise can be challenging in a classroom because air movement and heat are invisible. However, with the right demonstrations, students can clearly see how heat affects air and why sparks move upward instead of falling straight down. Simple, safe activities help transform abstract physics concepts into observable learning moments.
Classroom demonstrations focused on heat and air movement not only improve understanding but also encourage curiosity and participation. By using everyday materials, teachers can effectively explain spark behavior without using real sparks, keeping lessons safe and engaging.
Table of Contents
Overview Of Classroom Demonstrations
| Demonstration Type | Explanation |
|---|---|
| Heat And Air | Shows hot air rising |
| Smoke Movement | Visualizes air flow |
| Paper Motion | Demonstrates convection |
| Temperature Effect | Compares hot and cold air |
| Learning Goal | Explains upward spark motion |
Teaching Objective
The main objective of these demonstrations is to help students understand that sparks rise because hot air is lighter than cool air. Instead of focusing on sparks themselves, lessons focus on air behavior, which is the real cause of upward movement.
When students see air moving objects upward, they can easily relate this to sparks in fires. This approach builds conceptual understanding while avoiding unsafe materials.
Candle Airflow
A candle is one of the simplest tools for demonstrating heat-driven air movement. When lit, the candle heats the surrounding air, creating an upward flow that can be observed indirectly.
Holding a strip of paper or lightweight thread near the flame shows air moving upward. Students can clearly see motion caused by heat, helping them understand how sparks are carried by rising air.
Smoke Observation
Smoke provides a visible way to track air movement. After safely extinguishing a candle, the smoke rises upward, following the same path sparks would take in a fire.
This demonstration is effective because smoke behaves like sparks in hot air. Students immediately notice the upward direction and begin connecting heat with motion.
Paper Spiral
- Cut a paper spiral and hang it above a heat source
- Observe the spiral begin to rotate
- Notice faster movement with more heat
- Explain rotation using rising air
- Connect motion to spark movement
The paper spiral is a popular convection demonstration. As warm air rises, it pushes against the spiral, causing it to spin. This visual clearly represents invisible air currents.
Hot And Cold Air
Comparing hot and cold air helps students understand density differences. A warm object placed below a lightweight indicator shows upward motion, while a cold object does not produce the same effect.
This contrast reinforces the idea that heat is necessary for air to rise. Sparks rise only when enough heat is present to change air density.
Convection Box
A convection box uses two openings and a heat source to show air circulation. Smoke introduced into the box reveals a loop of air movement.
Students observe hot air rising and cool air sinking in a continuous cycle. This directly explains how sparks are lifted upward and why fresh air feeds a fire from below.
Balloon Demonstration
- Inflate one balloon with warm air
- Inflate another with room-temperature air
- Release both balloons
- Observe which balloon rises
- Discuss temperature differences
This activity shows that warmer air is lighter. The rising balloon represents how heated air lifts sparks during combustion.
Student Interaction
Allowing students to predict outcomes before demonstrations improves engagement. Asking why questions encourages critical thinking and discussion.
When students explain what they observe, they develop stronger understanding. Demonstrations become more effective when paired with guided discussion rather than simple observation.
Safety Focus
Classroom demonstrations must prioritize safety. All heat sources should be handled by teachers, and students should observe from a safe distance.
Using substitutes like smoke, paper, or air movement ensures that lessons remain safe while still effectively explaining spark behavior.
Real World Connection
Connecting demonstrations to real-life examples strengthens learning. Teachers can relate rising air to campfires, chimneys, and hot air balloons.
These connections help students understand that classroom demonstrations represent real physical processes happening outside school.
Learning Reinforcement
Repeating demonstrations using different materials reinforces the same concept. Students see that no matter the setup, heat consistently causes air to rise.
Reinforcement builds confidence and ensures long-term understanding of why sparks move upward.
Key Takeaways
Classroom demonstrations make it easy to explain why sparks rise by showing how heat affects air movement. Through candles, smoke, paper spirals, and simple comparisons, students can visualize convection in action. These safe, engaging activities help students understand that sparks rise not by chance, but because hot air is lighter and moves upward.